9 June, 2025
How to Connect Solar Panel to Inverter
Connecting solar panels to an inverter is a critical step to achieve efficient and safe power generation. This article will detail the importance of connecting solar panels to an inverter, how to select the right inverter, the step-by-step process of connecting solar panels to an inverter, required tools and materials, and ways to optimize your solar system. Let’s get started!
Solar Panels and Inverters Are Essential
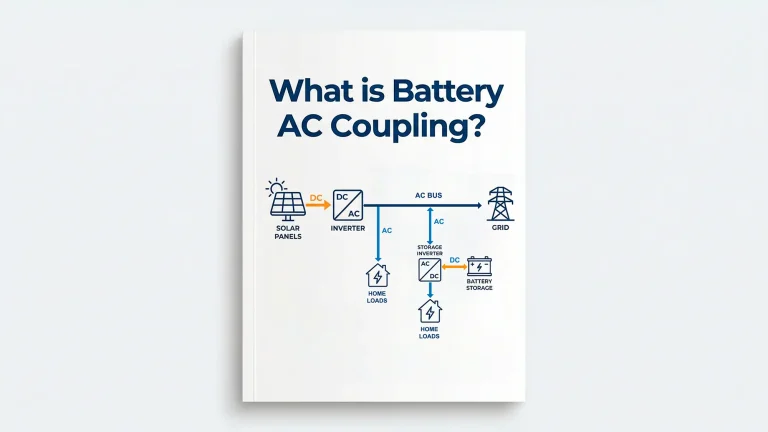
Solar panels are the foundation of a photovoltaic power generation system. They convert sunlight directly into direct current (DC) electricity, which must then be processed by an inverter to be output because most household appliances and industrial equipment operate on alternating current (AC).
The inverter adjusts the output voltage and frequency to ensure the stability and compatibility of the power supply, meeting the needs of households or industrial electricity. Safety features like anti-islanding protection protect the system during grid instability, preventing equipment damage and safety accidents.
A well-configured solar panel and inverter system ensures high power quality and reliable power supply.
Choose the Right Inverter
Microinverters
Microinverters are small inverters installed directly behind each solar panel, about the size of your palm. They independently convert DC to AC power for each panel.
Compared to string inverters, microinverters have higher efficiency and reliability and will not affect the entire system if one component fails. They are especially suitable for homes and small communities with installation constraints.
String Inverters
String inverters connect a series of solar panels into groups, each group connected to one inverter. This setup is subject to the “weakest link” effect but balances cost and efficiency, making it suitable for most typical homes and small-to-medium businesses.
Hybrid Inverters
Hybrid inverters combine the functions of string inverters and battery inverters, enabling seamless switching between self-use, storage, and selling power. They are ideal for users who want a more independent energy system.
Central Inverters
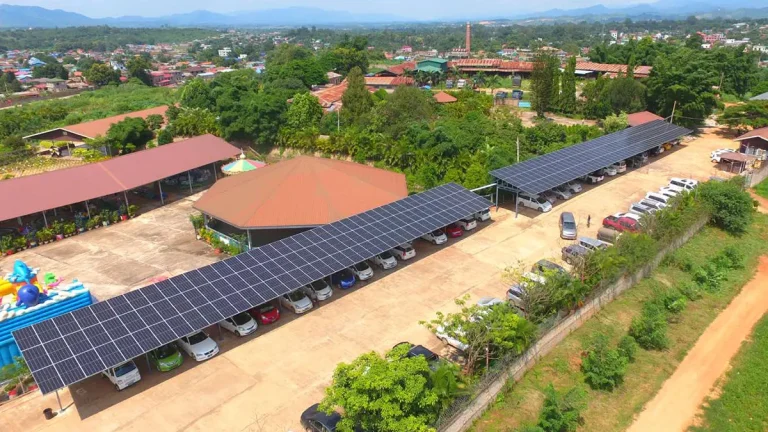
Central inverters connect hundreds of panels in series (with voltages up to 1500V) into a single cabinet-style inverter.
This approach has fewer grid access points and high-quality power output. The main drawback is that if the central inverter fails, it can shut down a large section of the solar power system. It requires high-level technical maintenance and is best for large ground-mounted solar plants or open, unobstructed sites.
How to Connect Solar Panels to an Inverter
The installation process of a solar system involves many hidden details that are easy to overlook. Let’s explore step by step.
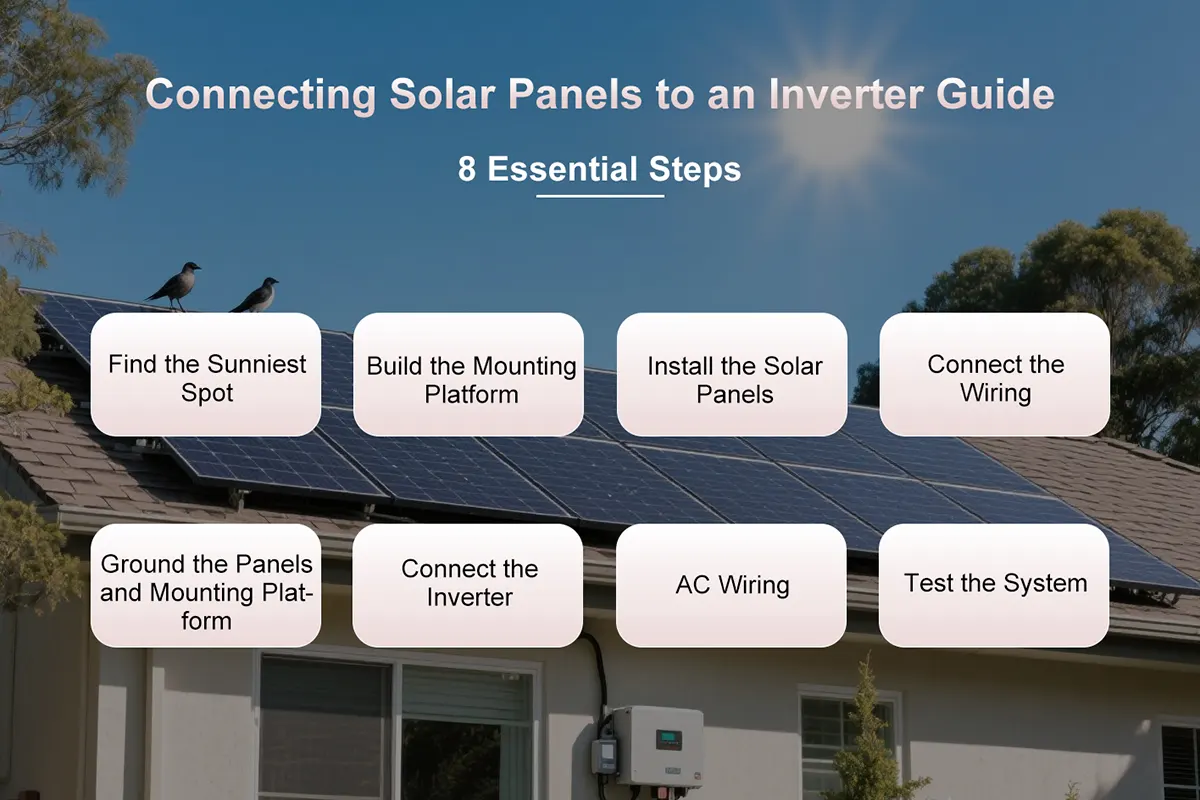
1. Find the Sunniest Spot for the Solar Panels
To ensure maximum sunlight exposure, choose the south-facing side of your roof or, if that’s not possible, the southeast or southwest side. Ground-mounted systems offer more flexibility but are rarely used in residential systems.
Make sure the chosen location is not shaded at any time of the day—morning, afternoon, or evening—to maximize sun exposure.
2. Build the Mounting Platform
Based on the length and width of the solar panels, construct a platform using metal or aluminum rails. The type of base depends on your roof type. During design and construction, make sure to allow space for conduit runs to the control panel to avoid future connection issues.
Wear the necessary protective gear, such as gloves, during installation.
3. Install the Solar Panels
Use brackets, bolts, or clips to mount the panels to the platform. Tighten all installation details to ensure stability and durability, so the panels can withstand wind and extreme weather conditions. If you’re installing panels on a roof, be extra careful and ensure proper safety measures for yourself and your team.
4. Connect the Wiring
There are two common wiring methods: series and parallel connections.
Series: Series connections are typically used when high voltage output is required. In this setup, the current remains the same while the voltage increases. The positive terminal of one panel is connected to the negative terminal of the next. Components such as the inverter, breakers, and cables must be rated for higher voltage to prevent over-voltage hazards.
Parallel: Parallel connections produce higher current, requiring components to handle higher currents. In this setup, the positive terminals are connected together and the negative terminals are connected together.
Because parallel connections increase current load, cables must meet current-carrying specifications and have overload protection devices to prevent overheating or fire hazards.
High temperatures and humidity can affect system performance. Use well-ventilated, waterproof materials to ensure safe operation in harsh weather conditions.
5. Ground the Panels and Mounting Platform
It is essential to ground the solar panels and mounting platform, as they are made of metal. Grounding protects your equipment from potential lightning and electrical surges, and it also protects you and others from electric shocks.
- Use copper wire to connect the system to a ground rod near the building.
- Drive the copper rod about 6 inches above the ground.
- If there’s no grounding network, ground the control panel separately.
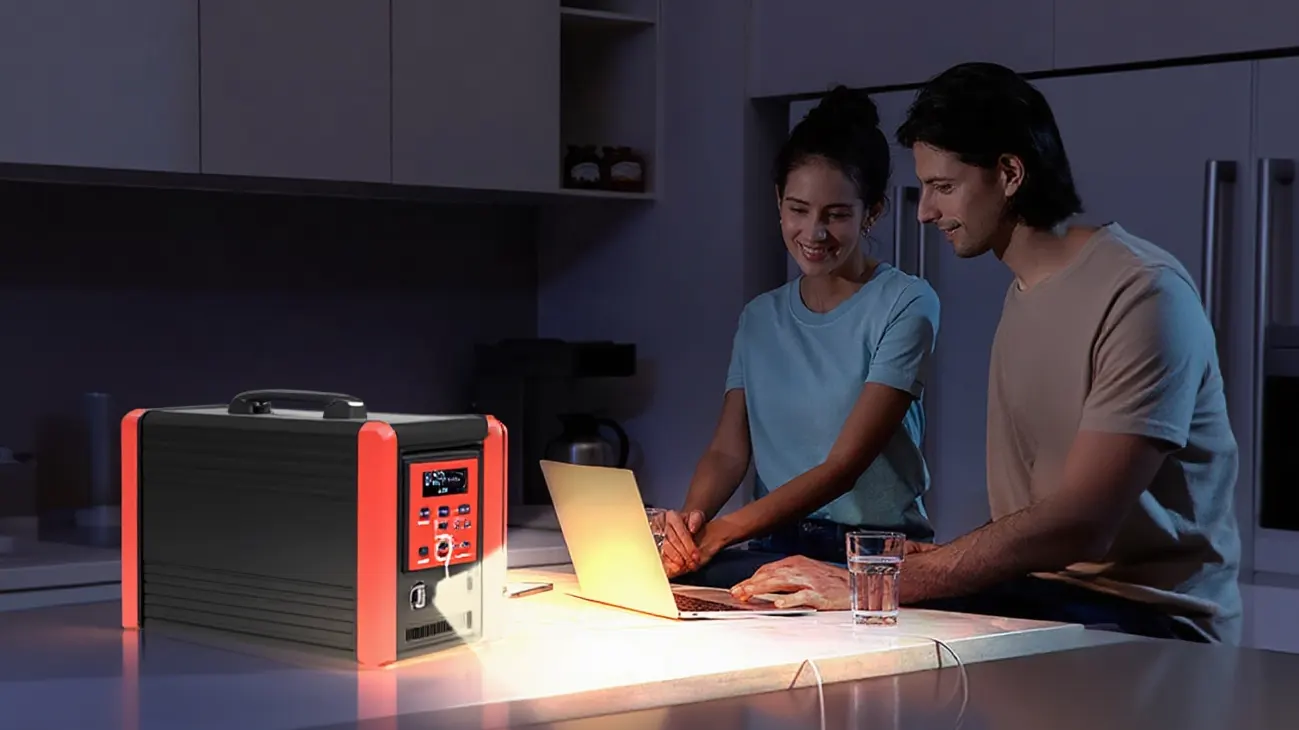
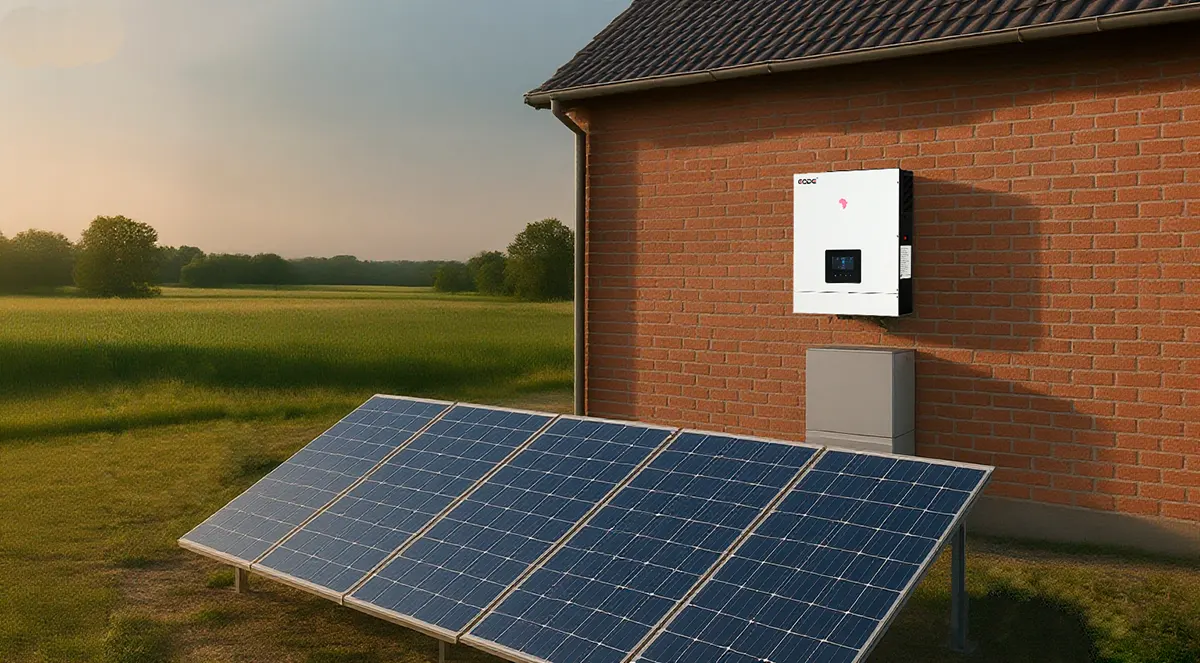
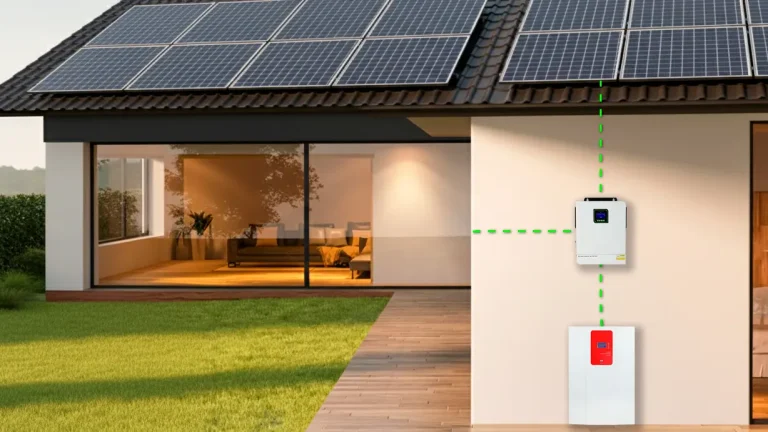
6. Connect the Inverter
The inverter is an essential component of the photovoltaic system. It’s usually installed indoors, near the main panel, in a cool, dry, and ventilated area. If specified by the manufacturer, it can also be installed outdoors.
Solar panels are connected to the inverter in series: the negative terminal of the panel string is connected to the negative terminal of the inverter, and the positive terminal to the positive terminal.
Off-grid systems also require a charge controller and batteries for power storage. Choose a location close to the inverter to avoid overheating and dust buildup.
7. AC Wiring
After connecting the solar panels to the inverter, AC wiring is required to feed the AC power generated by the inverter into your home’s distribution panel.
To ensure safety and prevent circuit overloads, it’s typically necessary to install a dedicated breaker at the point of connection. If you don’t have electrical knowledge or experience, it’s best to hire a licensed electrician to do the work and ensure the entire system is safe and compliant.
8. Test the System
Once the solar panels and inverter are connected, use a multimeter to measure the output voltage of the solar panels and ensure it falls within the inverter’s input voltage range.
Turn on the inverter’s power and observe its startup process. Gradually connect the loads and see if the inverter operates normally and provides stable AC power.
Tools and Materials Needed
- Solar panels
- Inverter (choose off-grid or grid-tied based on the system)
- Solar cable (PV cable)
- MC4 connectors
- DC breaker or fuse
- Multimeter (for voltage and current testing)
- Wire stripper
- Basic tools like screwdrivers and wrenches
- (Optional) Safety gloves and goggles
Ways to Optimize the Solar System
Choose the Right Inverter Type
Choose an inverter type that meets your system’s needs and fits your actual environment to ensure maximum performance and efficiency. Regularly check and maintain the inverter.
Panel Cleaning and Maintenance
Select panel types that match your needs, keep them south-facing and tilted appropriately, avoid shading, and regularly clean off dirt and dust.
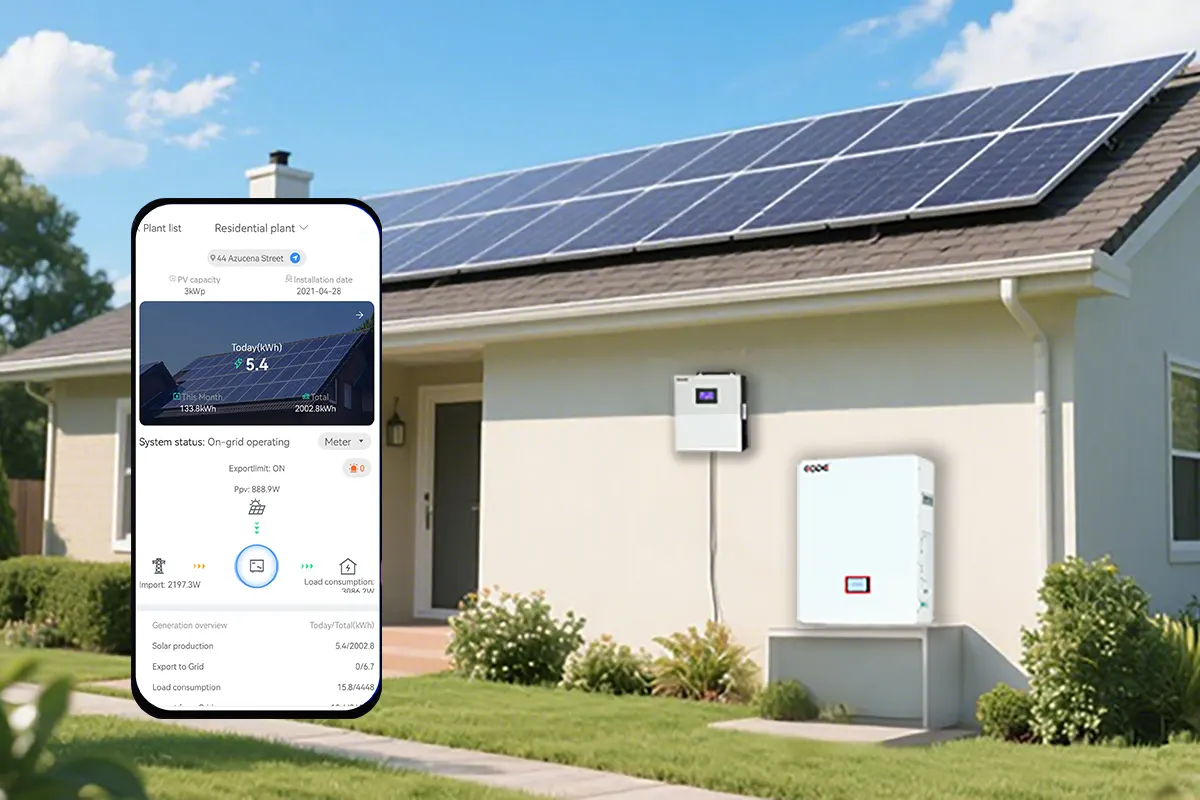
Monitor and Maintain System Performance
Using monitoring tools or software from your installer is crucial for maintaining your solar system’s optimal condition. If there are issues or fluctuations, you can quickly locate and fix them.
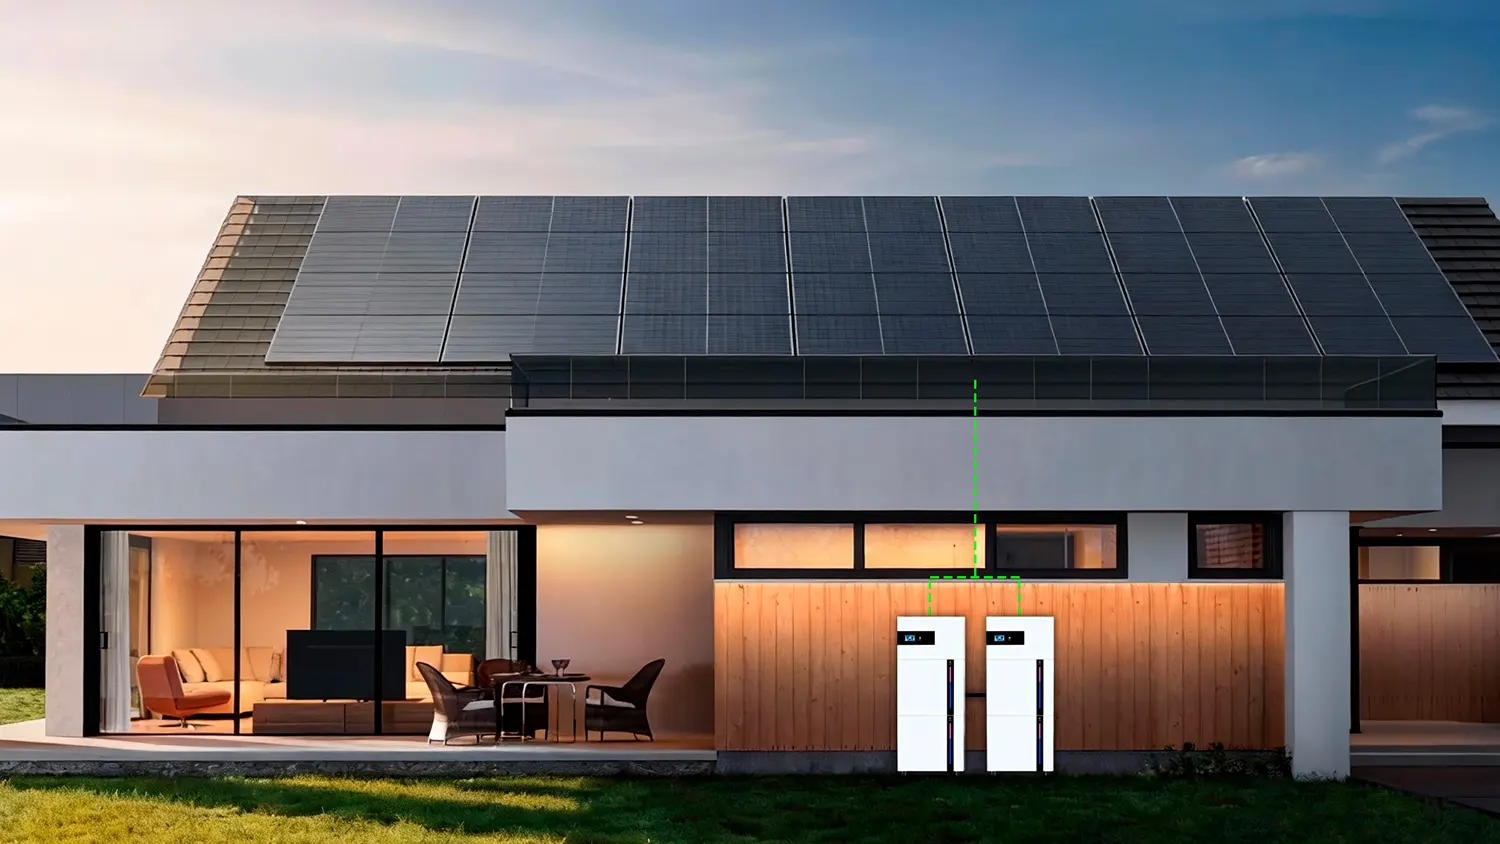
Battery Storage Integration
Adding a battery storage system helps store excess energy for later use, increasing your self-consumption and reducing dependence on the grid.
Connecting Solar Panels to an Inverter: FAQs
share